

Key Takeaways
Recycled Haval timing chain kits can reduce repair costs, but only when the parts are correctly identified and carefully inspected.
- Match the kit to the exact Haval model, engine code, and production year.
- Check the chain, guides, tensioner, and sprockets as one system.
- Treat mileage, storage history, corrosion, and missing parts as warning signs.
- Compare the saving with the risk of repeat labor if a component fails.
- Use accurate timing references and verify the engine thoroughly after installation.
Understanding recycled Haval timing chain kits
A timing chain kit is more than a length of chain. It is a group of related components that keeps the crankshaft and camshaft turning in the correct relationship. Because Haval vehicles can use different engines and revisions, the right kit must be identified by more than the vehicle badge alone.
What a timing chain kit includes
A typical kit may include the timing chain, chain guides, tensioner, and one or more sprockets. Some packages also contain seals, gaskets, or installation hardware, while others supply only the main timing components. Read the listing carefully rather than assuming every pictured part is included.
The included parts matter because replacing only a visibly worn chain can leave an old guide or weak tensioner in service. Those surrounding parts influence chain control and can affect the result of the repair.
Why timing chain condition matters for engine timing
The chain synchronizes valve movement with piston movement. Excessive wear, elongation, a damaged link, or a tensioner that cannot maintain pressure can allow the timing relationship to shift. That may cause poor starting, unusual noise, warning lights, or serious internal engine damage.
A used chain can look acceptable while still having wear that is difficult to judge by eye. Correct timing is non-negotiable: measurements, markings, and the engine service procedure should guide the decision rather than appearance alone.
Haval models and engines that may use different kits
The same model name may cover several engine codes, production periods, or markets. Changes in chain length, guide shape, tensioner design, sprocket profile, and sensor targets can make otherwise similar kits incompatible. VIN information is useful, but it should be checked against the engine code and the supplier’s fitment data.
Do not rely on a photograph of a similar assembly. A kit listed for a Haval SUV may not fit every engine option in that model range, and a later production revision may require different components.
Recycled, remanufactured, and used parts compared
“Used” generally means a component removed from another vehicle and offered in its existing condition. “Recycled” often describes a recovered part being returned to the parts market, but the term does not automatically prove that it was tested or refurbished. A remanufactured kit should have a defined process for replacing or reconditioning worn elements, although the exact process still needs confirmation.
That distinction affects price, inspection expectations, and warranty terms. Ask what was measured, what was replaced, and whether the kit is sold as a complete matched set.
Checking compatibility before you buy
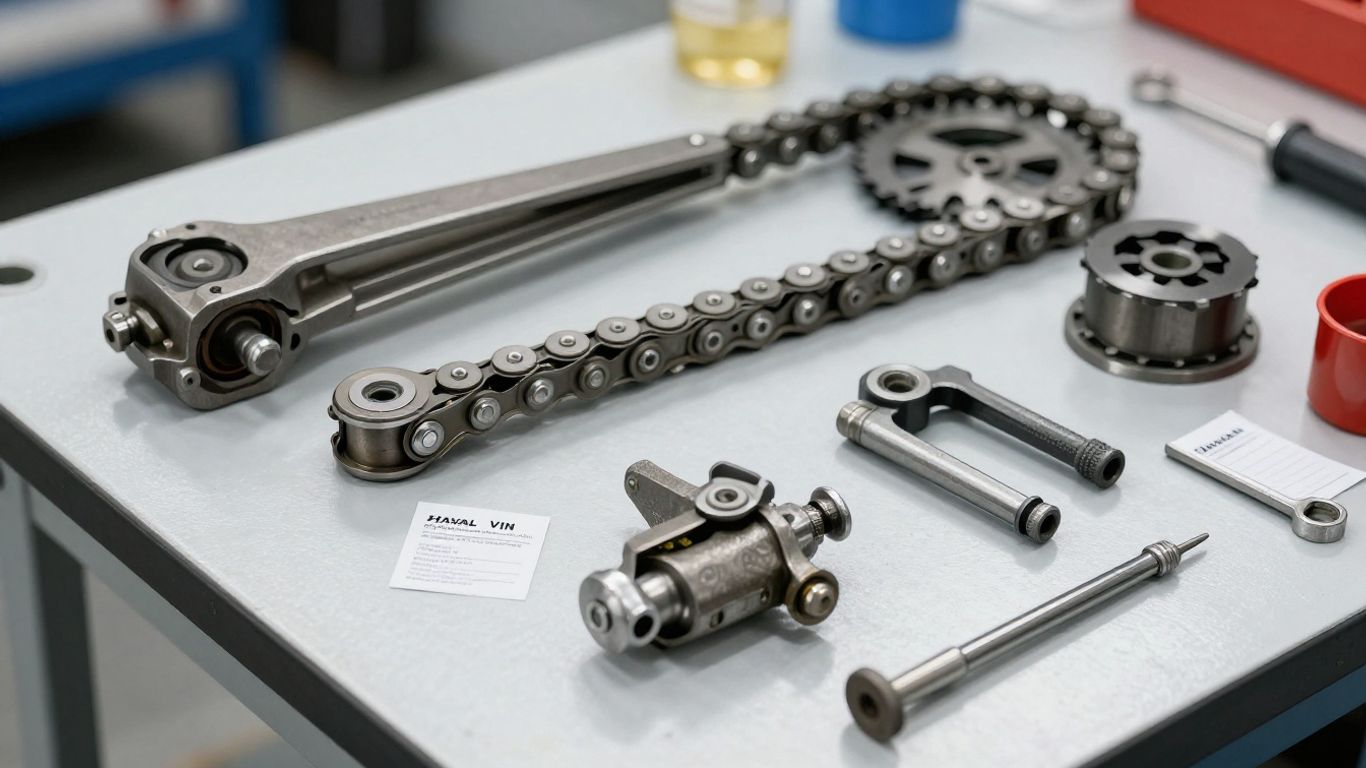
Compatibility is the first decision, not a detail to resolve after payment. Have the vehicle identification number, engine code, model year, and current part information ready before contacting a supplier. A clear match protects against the most expensive kind of mistake: installing a part that appears close but cannot maintain the specified timing.
Matching the kit to the exact Haval model
Start with the full model designation and drivetrain details. Record the body style, market, transmission where relevant, and production date. These details help separate kits that share a broad model description but use different timing assemblies.
A supplier should be able to explain the fitment basis, not merely repeat the model name from the listing. If the answer is vague, pause the purchase until the match is documented.
Confirming the engine code and production year
The engine code is usually more useful than a general description such as “1.5 turbo” or “two-liter petrol.” Confirm it from the vehicle, service records, or reliable manufacturer documentation, then compare it with the donor vehicle and the kit listing.
Production year can matter when a manufacturer changes a tensioner, guide, or sprocket design. If the listing covers a range of years, ask whether the same part numbers apply throughout that range.
Comparing OEM, aftermarket, and recycled part numbers
Part numbers provide a practical way to compare listings, but they must be handled carefully. An original-equipment number may identify the application, while an aftermarket or recycled listing may use an interchange number. One digit can distinguish a different revision or engine family.
A compact comparison can help organize the information before you buy:
| Identification detail | What to compare | Why it matters |
|---|---|---|
| Engine code | Vehicle code and listing code | Separates similar engine families |
| Chain reference | Original and interchange numbers | Helps identify compatible revisions |
| Guide and tensioner numbers | Included references and photos | Confirms the surrounding parts match |
| Donor vehicle | Model, year, and engine | Provides context for recovered components |
Use the table as a checking aid, not as a substitute for the service manual or a supplier’s written confirmation. If only the chain number matches and the guides or tensioner are unidentified, the kit is not fully verified.
Verifying included components and fitment details
Ask for a complete contents list and clear photographs of every component. Confirm whether seals, bolts, tensioner hardware, and sprockets are included or must be purchased separately. Also check whether the supplier guarantees fitment or merely sells the parts based on the buyer’s description.
The wider parts market includes listings for timing assemblies and accessories, so filters and seller documentation can be useful when researching options through timing parts suppliers. The final choice should still rest on the exact Haval application and documented component numbers.
Inspecting the condition of a recycled kit
A recycled kit deserves the same attention as any other precision engine part. Inspection should cover the chain and every component that controls or drives it. If the seller cannot provide useful photographs, measurements, or donor information, assume the uncertainty has a cost.
Examining chain stretch, wear, and damaged links
Look for uneven link movement, polished or hooked contact surfaces, bent plates, damaged rivets, and signs that the chain has rubbed against a guide or cover. A chain’s apparent length is not enough to establish its condition; compare it with the specified wear limits where those are available.
Pay particular attention to stiff links and marks around the pins. A chain that has been contaminated, overheated, or run with poor lubrication may have hidden damage even if it is free of obvious breaks.
Checking guides, tensioners, and sprockets
Guides should be free of deep grooves, broken mounting points, and missing wear material. The tensioner should be checked for smooth operation, correct locking or release behavior, and damage to its body or mounting surface. Sprocket teeth should not be sharply hooked, chipped, or irregularly worn.
These parts work together, so a clean-looking chain does not rescue a cracked guide or worn sprocket. Treat mismatched components as a reason to reject the set unless a qualified technician can verify the combination.
Identifying corrosion, cracks, and heat damage
Surface rust on an unimportant exterior area is different from corrosion at chain pins, tensioner surfaces, or mounting points. Look for pitting, flaking, discoloration, melted plastic, and hairline cracks around guides. Oil sludge or baked deposits can also suggest poor lubrication or excessive heat.
Photographs should be sharp enough to show contact surfaces and identification marks. If the images hide those areas, request better ones before committing to the purchase.
Reviewing mileage, vehicle history, and storage conditions
Mileage gives context but does not prove condition. A low-mileage donor may have suffered neglected oil changes, a collision, long storage, or a timing-related fault. Conversely, a higher-mileage part with clear history and careful storage may be easier to evaluate.
Ask how the assembly was removed, cleaned, packaged, and stored. Moisture, loose parts in a container, and exposure to dirt can turn a potentially useful component into a poor installation choice.
Evaluating the benefits and risks
The appeal of recycled Haval timing chain kits is straightforward: a recovered assembly may cost less than a new one and may keep usable parts in circulation. The trade-off is uncertainty about prior service, wear, and compatibility. The sensible comparison is not simply purchase price versus purchase price; include labor, downtime, fluids, and the consequences of a repeat repair.
Potential savings compared with a new kit
The initial price can be attractive, particularly for an older vehicle or a repair with a tight budget. Yet installation labor can exceed the price of the parts, so saving on the kit may be insignificant if the chain or tensioner fails soon afterward.
Request a complete quote that includes shipping, missing hardware, seals, and any testing or return costs. A cheaper incomplete kit may become more expensive once the remaining components are sourced.
When recycled parts can be a practical choice
A recycled kit may make sense when the application is uncommon, the donor history is clear, the parts show limited wear, and the supplier offers a reasonable return window. It can also be considered when a technician has inspected the parts before installation and accepts the condition for the intended vehicle.
Sustainability can be part of the decision as well. Information on recycled vehicle components can help explain the broader reuse model, but it should not replace a technical inspection of this particular timing kit.
Failure risks from worn or mismatched components
A stretched chain or weak tensioner can disturb camshaft timing. A damaged guide can shed material, while an incorrect sprocket may create poor engagement or an alignment problem. Any of these faults can lead to noise, fault codes, poor running, or internal damage.
Do not let a complete-looking package create false confidence. The chain, guides, tensioner, and sprockets need to be compatible as a set, and the engine must be timed according to its specified reference points.
How part quality affects engine reliability and warranty coverage
Part quality affects both mechanical reliability and the evidence available if something goes wrong. Keep the listing, photographs, part numbers, donor details, receipts, and correspondence. Ask in writing what the warranty covers and whether labor is excluded.
A recycled component may carry a limited warranty that applies only to the part, not consequential engine damage or installation costs. If the terms are unclear, calculate the risk before choosing the lower upfront price.
Finding a trustworthy supplier
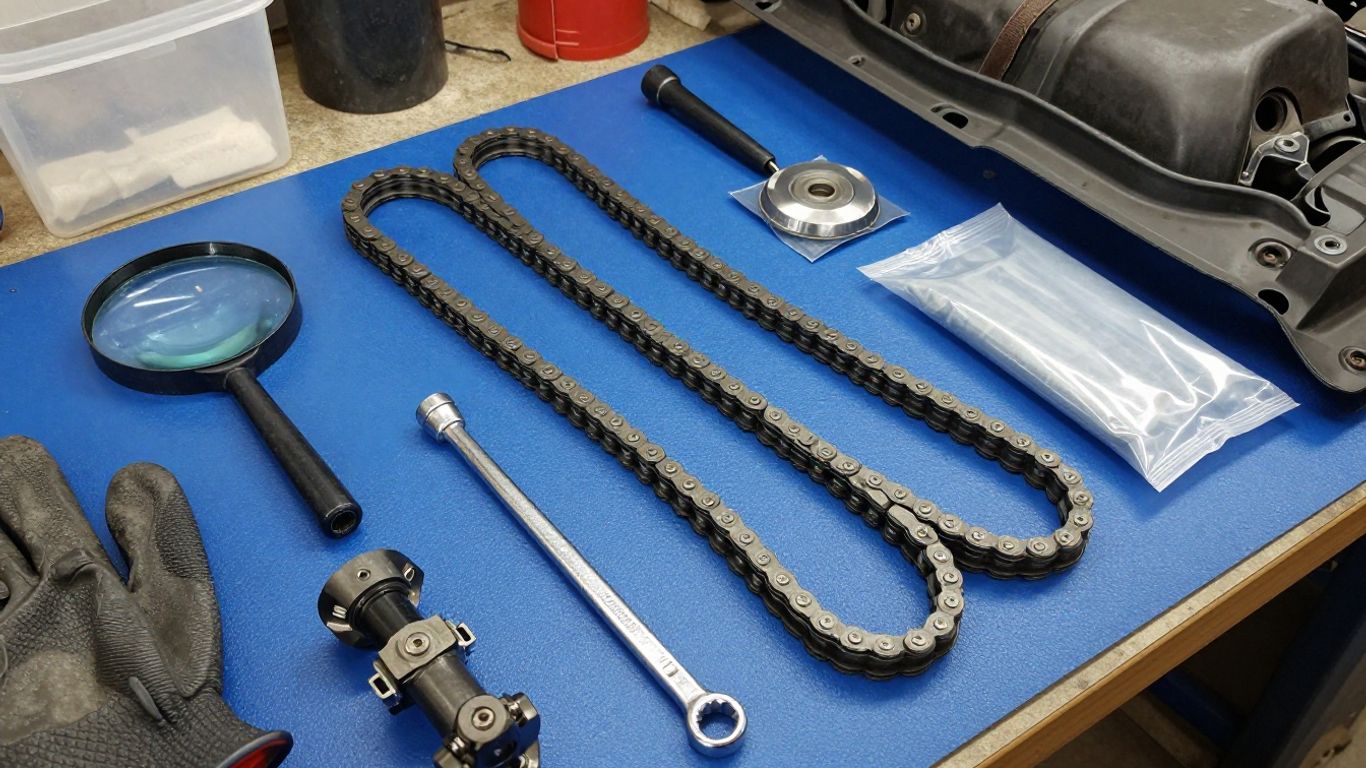
A good supplier makes the part easier to identify and the risk easier to manage. Look for consistent descriptions, useful photographs, traceable sourcing, and answers that address the engine code rather than simply promising that a part “fits.” A polished listing is not proof of quality, but missing information is a meaningful warning.
Questions to ask about sourcing and testing
Ask whether the kit came from a running engine, why the donor vehicle was dismantled, and which components were inspected or replaced. Request measurements or inspection notes for the chain, guides, tensioner, and sprockets. Also ask whether the pieces were kept together as a matched set.
Supplier research can be broad, but the final questions should stay technical. For example, a general automotive parts retailer may help with sourcing context, while the timing-kit seller must answer the fitment and condition questions directly.
Checking return policies and limited warranties
Read the return period, restocking rules, shipping responsibility, and exclusions before ordering. Confirm whether the kit can be returned after inspection but before installation, since many suppliers reject parts that show installation marks.
A warranty is more useful when the seller identifies the covered component and the required proof of professional installation. Keep every document and photograph the package when it arrives.
Comparing seller ratings, documentation, and photos
Ratings are most useful when they describe accurate fitment, packaging, condition, and after-sale support. Compare several listings for the same application and note whether the photographs appear to show the actual parts or generic stock images.
Documentation should agree across the title, description, part numbers, and images. If one field says a complete kit while another lists only a chain, ask for clarification before paying.
Avoiding incomplete or inaccurately labeled kits
A missing guide, bolt, seal, or tensioner may not be obvious until the engine is apart. Make a written inventory before installation and compare every item with the supplier’s list. Do not assume a part is included because it appears beside the chain in a photograph.
This same discipline applies to unrelated recycled automotive parts: a page describing recycled rubber mounts illustrates why material and component descriptions need to be read precisely. For a timing kit, the relevant question remains whether every required timing component is present and suitable.
Preparing for installation
Preparation reduces the chance that a sound part is damaged or installed incorrectly. Gather the service information, replacement consumables, timing tools, and a clean work area before opening the engine. If the kit is still in doubt, resolve that question before removing the old assembly.
Additional seals, bolts, and fluids to replace
Plan for seals and gaskets disturbed during the repair, as well as single-use bolts where the service procedure specifies them. Fresh engine oil and coolant may be needed if the repair requires draining or contamination is present. The exact list depends on the engine and the extent of disassembly.
Do not reuse a fastener simply because it looks clean. Check torque-angle and replacement requirements in the applicable repair information.
Tools and timing references required for the job
Timing work may require crankshaft and camshaft locking tools, a torque wrench, angle measurement equipment, pullers, and tools for setting or releasing the tensioner. The marks and locking positions must come from the correct engine procedure.
Before turning the engine, understand which direction it should rotate and where the reference marks must align. Guesswork at this stage can create damage before the engine has even started.
Why professional installation may be worthwhile
A qualified technician can identify worn mating surfaces, verify the kit, set tension correctly, and catch an alignment error before startup. Professional labor also provides a clearer record for any limited parts warranty that requires documented installation.
The installation is especially unsuitable for improvisation when access is restricted or the engine uses interference timing. If the procedure or tool requirements are unclear, specialist help is usually cheaper than correcting a failed installation.
Engine checks to perform before removing the old chain
Record diagnostic codes, inspect oil condition, note existing noise, and confirm the engine’s current timing position before disassembly. Photograph the routing and mark components only as a secondary aid; factory references remain the authority.
A pre-removal check can reveal that the original problem is a sensor, tensioner, oil-pressure issue, or another fault rather than the chain itself. It also gives the technician a baseline for the post-installation test.
Testing the engine after installation
The first startup should be controlled and deliberate. Recheck the assembly, fluid levels, connectors, covers, and tools around the engine before cranking. A successful start is encouraging, but it does not by itself prove that the timing repair is complete.
Confirming correct timing alignment
Rotate the engine by hand through the required number of revolutions and return it to the specified reference position. Confirm that the crankshaft and camshaft marks or locking points align as directed by the service information. If resistance or an unexpected stop occurs, stop and investigate rather than forcing rotation.
After startup, listen for abnormal chain rattle and verify that the engine settles into the expected idle. Any mismatch between mechanical marks and engine behavior deserves a second inspection.
Checking for startup noise, leaks, and warning lights
Watch for oil or coolant leaks around covers, seals, tensioner areas, and disturbed hoses. Listen for persistent rattling, scraping, or tapping, especially during the first seconds after startup. Warning lights should be recorded rather than dismissed.
A short visual check after the engine reaches operating temperature can reveal leaks that were not visible when cold. Shut the engine down if noise worsens or fluid loss appears.
Scanning for timing-related fault codes
Use a suitable scan tool to check stored and pending codes after installation. Camshaft-crankshaft correlation codes, misfire codes, and sensor faults can point to incorrect alignment, a connector problem, inadequate tension, or a separate engine issue.
Clear codes only after recording them and completing the necessary checks. If a code returns, do not treat repeated clearing as a repair.
Establishing a break-in and inspection schedule
Follow the technician’s guidance for the first drive and avoid assuming that a quiet idle confirms long-term reliability. Recheck fluid levels, inspect for leaks, and listen for changes after the initial run and again after the first few drives.
Keep the parts invoice and installation record with the vehicle history. A scheduled follow-up gives you a chance to catch seepage, loose hardware, or new timing noise before a small issue becomes an engine failure.
Conclusion
Choosing recycled Haval timing chain kits is a condition-and-compatibility decision, not merely a way to find the lowest price. Verify the exact engine application, inspect every related component, document the supplier’s terms, and use the correct installation and testing procedure. When the evidence is incomplete, a new or professionally verified alternative may offer better value than repeating a major repair.
Frequently Asked Questions
Are recycled Haval timing chain kits always cheaper than new kits?
They may have a lower purchase price, but the total cost also includes missing components, shipping, installation, and the risk of repeating the repair. Compare complete repair costs rather than the listing price alone.
How can I identify the correct timing chain kit?
Match the vehicle model with the VIN, engine code, production year, part numbers, and the included component list. Written confirmation from the supplier is preferable to relying on a similar photograph.
What should I inspect on a recycled timing chain?
Check for stretched or stiff links, damaged pins or plates, corrosion, heat discoloration, and abnormal contact wear. The guides, tensioner, and sprockets must also be inspected.
Can I replace only the timing chain?
Sometimes the service procedure permits it, but worn guides, sprockets, or a weak tensioner can damage a replacement chain. A technician should assess the complete timing system before parts are ordered.
Is mileage enough to judge a used timing kit?
No. Mileage is only context. Oil-change history, operating conditions, donor-vehicle faults, storage, corrosion, and measured wear are also relevant.
Should a professional install a recycled timing kit?
Professional installation is advisable when special locking tools, torque procedures, or interference-engine precautions are involved. It also provides a better opportunity to verify alignment and document the work.
What should I do if the engine rattles after installation?
Stop and investigate persistent or worsening noise. Check oil level, timing alignment, tensioner operation, leaks, connectors, and diagnostic codes before continuing to drive the vehicle.