

Key Takeaways
A used brake booster is worth considering only when its fitment, condition, and purchase terms are clear. Because it is part of the braking system, have a qualified technician inspect and install it.
- Match the part to the vehicle’s model, year, trim, market, VIN, and original part number.
- Compare the replacement’s shape and connections with the original unit before buying.
- Ask for clear photos, donor-vehicle details, and written return or warranty terms.
- Have a qualified technician inspect and install the booster and check related components.
- Test the brakes cautiously after installation, and stop driving if anything feels abnormal.
1. Identify the correct brake booster for your Haval
A brake booster that looks similar to yours may still differ in fitment or connections. Start with the vehicle’s exact details, then use the VIN and the original part number to narrow the search. Taking those steps before shopping can help prevent a costly mismatch.
Match the model, year, trim, and market
Write down the Haval model, model year, trim, and the market where the vehicle was originally sold. Versions with similar names may have different equipment, and a vehicle’s build date may not be the same as its model year. Ask the seller to confirm that the part came from a compatible version rather than relying on a broad model description alone.
Check the VIN and original part number
Use the vehicle identification number (VIN) to ask a parts specialist or repair professional to verify the correct replacement. If you can safely access the original booster’s label, record its part number and compare it with the seller’s information. A matching part number is useful evidence, but it should be checked alongside the vehicle details rather than treated as the only proof of fit.
Confirm booster type and connection points
Before you commit, identify the booster type specified for your vehicle and note the arrangement of its mounting points, vacuum connection, and pushrod. Do not assume that a part fits because it came from another Haval or because its housing looks similar. Ask for a clear view of the connections, and pause the purchase if the seller cannot identify the unit.
2. Verify compatibility before you buy
Treat compatibility as a separate check, even after finding a part advertised for your model. Compare the listing details with the original unit and confirm exactly what is included. A used Haval H6 brake booster, for example, should still be checked against your own vehicle details; a listing title alone cannot confirm fitment.
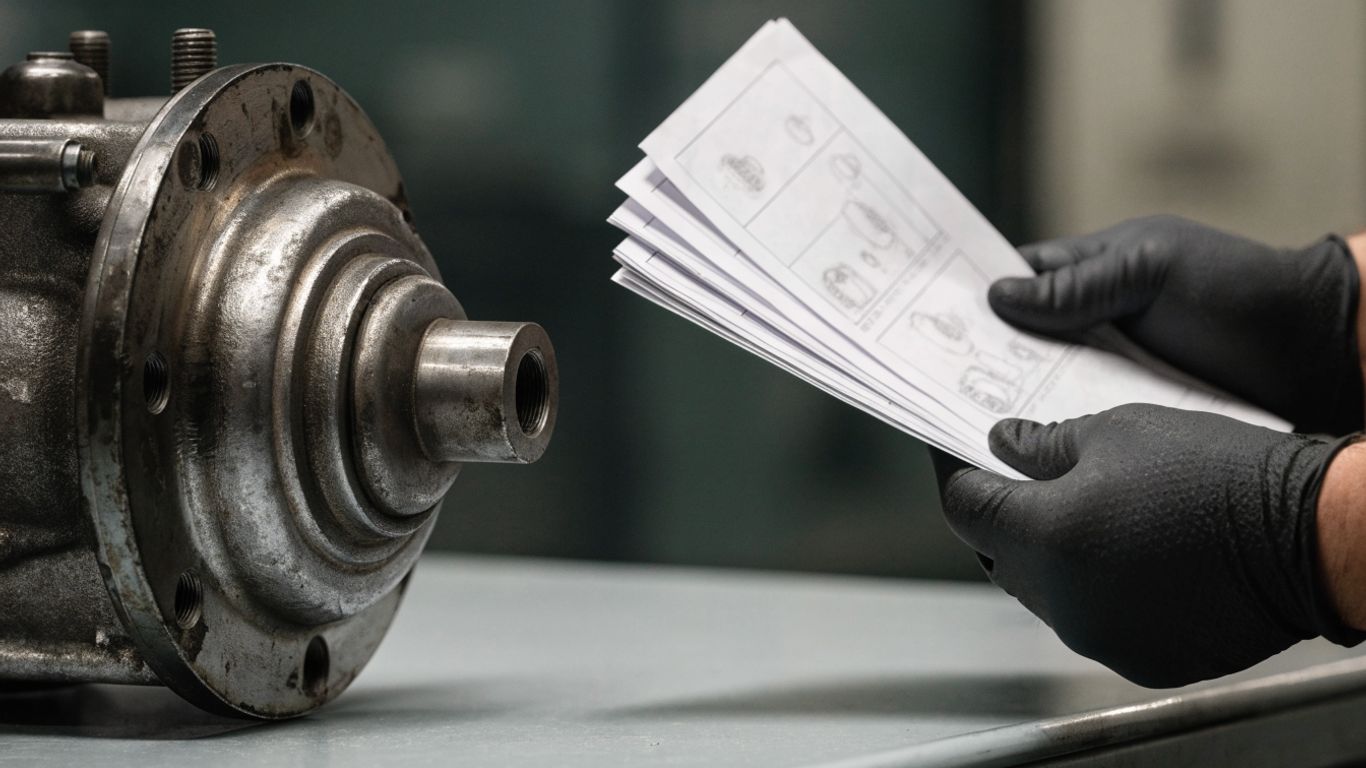
Compare the replacement with the original unit
A side-by-side comparison can reveal differences that a short listing description misses. Use photos of the original part and the proposed replacement, paying attention to the housing, mounting points, vacuum port, and pushrod position. These checks help you spot a possible mismatch, but a qualified parts specialist should make the final fitment confirmation.
A simple comparison record can keep the important details together while you speak with the seller or technician:
| Detail to compare | Original unit | Replacement listing |
|---|---|---|
| Vehicle model, year, and trim | Record from vehicle documents | Ask seller to confirm donor details |
| Part number | Photograph or transcribe label | Request a readable label photo |
| Mounting and connection points | Note layout and orientation | Compare against original photos |
| Included components | List what you are removing | Confirm each item supplied |
If any row remains unclear, resolve it before paying. A close visual match is helpful, but it does not replace confirmation against the VIN and part number.
Check whether related components are included
Listings can vary in what comes with the booster, so ask whether the sale includes only the booster or also any attached brackets or related hardware. Do not assume that parts shown in a photo are included in the price. Make a written note of what the seller agrees to supply, then ask your technician whether any additional seals or components will be needed for the repair.
Ask a Haval parts specialist to confirm fitment
Give the specialist the VIN, original part number, and seller’s photos or listing details. If you are sourcing parts in another market, remember that local availability and vehicle specifications can differ; Haval parts listings in the UAE are an example of a market-specific source, not confirmation of fit for a vehicle sold elsewhere. Request a clear yes-or-no fitment check before ordering, and keep a record of the details used to confirm it.
3. Inspect the used booster’s condition
A used part may show ordinary wear, but damage or uncertain history can make it an unsuitable choice. Ask to inspect the actual unit being sold rather than relying on generic images. If a defect is hard to assess from photographs, have a qualified technician review it before purchase.
Look for corrosion, dents, and damaged mounting points
Examine the booster housing for substantial corrosion, deep dents, cracks, or signs of impact. Pay close attention to the mounting points: bent, cracked, or badly worn areas may prevent secure installation. Surface marks do not automatically prove a fault, but visible damage should be explained and assessed before you buy.
Check the vacuum port, seals, and pushrod
Look closely at the vacuum port for cracks or damage, and ask whether the seals are present and in usable condition. The pushrod should not appear bent, heavily corroded, or damaged at its end. A photograph cannot establish the part’s full operating condition, so leave functional assessment to a qualified technician.
Ask about the donor vehicle and removal history
The donor vehicle and removal details can help you understand where the part came from and what is known about it. Ask concise questions and keep the answers with the listing so you can discuss them with your installer.
- What model, year, and trim was the donor vehicle?
- Is the part number visible and readable?
- Why was the donor vehicle dismantled, if known?
- Was the booster removed intact, and are there known defects?
Clear answers make it easier to judge what remains uncertain. If important details are unavailable, treat that uncertainty as part of the buying decision rather than assuming the part is sound.
4. Evaluate the seller and purchase terms
A suitable-looking part is only one part of the decision; the seller’s information and terms matter too. Before paying, make sure you know which exact unit is being sold, what protection applies, and how you can address a mismatch. Keep the listing, messages, and payment details for your records.
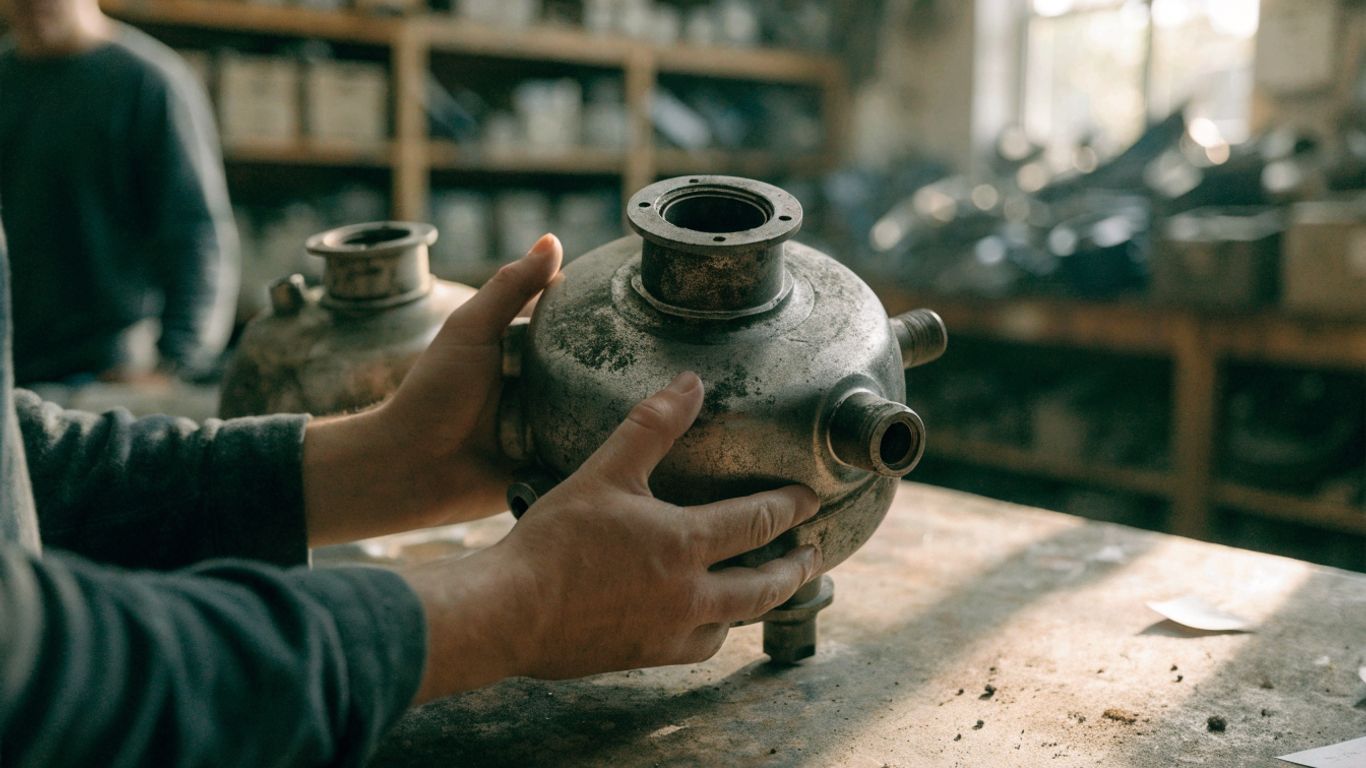
Request clear photos and identifying details
Ask for current photos of the actual booster from several angles, including its label, mounting points, vacuum port, and pushrod. A listing that states the model and part number is easier to assess than one with only a general description. Search results sometimes mix unrelated subjects, so confirm that you are looking at the right category: PVC duct caps, backup quarterback advice, home valuation guidance, La Minorista market information, and hail damage guidance are not evidence of brake-part fitment.
Confirm the return policy and any warranty
Ask the seller to explain the return window, conditions for a return, and any warranty in writing. Check whether coverage depends on professional installation or other stated terms, and keep the original listing in case details change. For example, a particular used Haval H6 listing describes a warranty; verify the terms for the exact part you are buying rather than assuming they apply to every used booster.
Compare the price with a new or remanufactured part
Compare the total cost, including delivery, possible additional parts, and installation, rather than looking only at the asking price. Availability and terms vary, so obtain current quotes for the options that fit your vehicle. All Good Parts describes its used brake boosters as affordable and quality-tested; its used brake booster options are one reference point for comparing listings, not a substitute for checking fitment and condition.
5. Plan for professional installation
A brake booster is part of a safety-critical system, so plan the repair with a qualified technician rather than treating installation as a casual swap. Share the vehicle and part details before the appointment. That gives the technician a chance to check fitment and identify related work that may be needed.
Replace related seals or components when needed
Ask the technician to inspect the seals and any related components affected by the repair. Whether replacement is needed depends on the condition of the parts and the vehicle’s service requirements. Agree on any additional work before it proceeds, and avoid reusing components that the technician identifies as damaged or unsuitable.
Have a qualified technician check the master cylinder
The technician should inspect the master cylinder and its connection to the booster while the components are accessible. If fluid has leaked or either part shows signs of damage, ask what repair is appropriate before the system is put back into service. The booster alone should not be treated as a complete diagnosis of a brake problem.
Confirm the system is bled and adjusted correctly
Ask the installer to follow the vehicle’s service procedure and verify that the brake system is properly bled and adjusted where required. The correct steps depend on the vehicle and the work performed. A video can help you understand the general subject, but it is not a substitute for vehicle-specific service information or qualified work.
Before leaving the workshop, ask what checks were completed and whether any follow-up inspection is recommended. Keep the invoice and details of the installed part with the vehicle’s service records.
6. Check brake performance after installation
Once the repair is complete, do not assume the brakes are safe simply because the vehicle is back together. Follow the installer’s instructions for initial checks and any restricted-use period. If you are unsure how to assess the result, ask the technician before driving.
Test the pedal feel in a safe setting
With the vehicle stationary in a safe place, follow the technician’s directions for checking pedal feel. The pedal should behave as the technician expects for your vehicle; do not try to diagnose a fault by making repeated or aggressive tests. If the pedal feels unusually hard, soft, or inconsistent, contact the installer before continuing to drive.
Watch for warning lights, leaks, or unusual noises
Pay attention to brake warning lights and any fluid leaks around the serviced area. Listen for unusual sounds and note changes in pedal response. A new warning or leak deserves prompt attention, even if the vehicle seems to stop normally during a brief check.
Stop driving and seek service if braking feels abnormal
If braking feels abnormal, stop in a safe place and arrange professional assistance rather than driving on to see whether the issue clears. Tell the technician what you noticed and when it began. All Good Parts describes its used parts as quality-tested, but inspection and correct installation remain essential, and any concern after repair should be addressed by a qualified professional.
Conclusion
Buying a second hand Haval brake booster calls for careful identification, a close condition check, clear purchase terms, and professional installation. Confirm the part against the vehicle and its original number, then let a qualified technician inspect the repair and verify brake performance before the vehicle returns to normal use.
Frequently Asked Questions
How do I know which brake booster fits my vehicle?
Check the model, year, trim, market, VIN, and original part number, then have a qualified parts specialist or technician confirm compatibility before purchase.
Is a used brake booster safe to install?
It may be suitable if its condition and fitment are verified, but a seller’s description or photos cannot establish everything about its operation. Have a qualified technician assess and install it.
What information should I ask the seller for?
Request the part number, donor-vehicle details, clear current photos, a description of known defects, and written return or warranty terms.
Should the master cylinder be checked when replacing a booster?
Ask the technician to inspect it and its connection to the booster during the repair. Any signs of leakage or damage should be assessed before the vehicle is returned to service.
Can I install a brake booster myself?
Brake-system work is safety-critical. Unless you are qualified and have the correct vehicle-specific service information and equipment, have a qualified technician perform the work.
What should be included with a used booster?
That depends on the listing and the vehicle. Confirm in writing exactly what is included, then ask the installer whether any additional seals, hardware, or related components are needed.
What should I do if the brake pedal feels wrong after installation?
Stop driving when it is safe to do so and contact the installer or another qualified repair professional. Do not continue driving to see if the pedal returns to normal.