

Key Takeaways
A used master cylinder should be treated as a safety-critical part, not a bargain to choose by appearance alone. Confirm fitment, inspect what is included, and have a qualified technician check the part and installation.
- Match the vehicle’s model, year, trim, VIN, and original part number.
- Confirm whether the reservoir, sensors, seals, and fittings are included.
- Ask for clear photos, donor-vehicle details, and information about testing and storage.
- Compare return terms and total cost, not just the asking price.
- Have a professional install the part, bleed the system, and verify operation before driving normally.
Confirm fitment for your Haval
A master cylinder can look right and still be the wrong part for a particular vehicle. Before buying a used Haval brake master cylinder, gather the vehicle details and compare the candidate part with reliable records. Australia’s trusted Car Parts Supplier connects customers with quality used, genuine, and aftermarket parts, but fitment still needs to be checked for the specific vehicle.
Match the model, year, and trim
Start with the exact Haval model, model year, and trim rather than relying on a broad description such as “fits Haval.” Changes between versions can affect the part, so use the vehicle identification information in the owner documents and ask the seller to confirm what vehicle the part came from. A listing for a used H6 master cylinder, for example, should not be taken as proof that it suits every H6.
A comparison of the details you have and the details the seller provides can make gaps easier to spot:
| Fitment detail | Your vehicle | Candidate part |
|---|---|---|
| Model and year | Confirm from vehicle records | Confirm with the seller |
| Trim or variant | Record the exact version | Ask which version it came from |
| VIN or donor details | Keep the full VIN available | Request donor-vehicle information |
| Part number | Check the original part | Compare the number on the part or listing |
Treat any mismatch or missing detail as a reason to pause and verify, not as a minor formality. A match across the records is more useful than a visual resemblance by itself.
Check the VIN and original part number
Give the seller the VIN and, if available, the original master-cylinder part number. Ask them to confirm the replacement against reliable parts information rather than guessing from a photograph or vehicle badge. If the original number is difficult to read, a technician or parts specialist may be able to help identify the correct reference.
A number shown in an online listing is a starting point, not a guarantee of compatibility. Check that the number applies to your vehicle’s year and version, and ask about any superseded or alternate numbers before you pay.
Compare ports, mounting points, and reservoir design
Once the records look consistent, compare the physical features: the number and position of the fluid ports, mounting points, and reservoir shape. These details can help identify a mismatch, but they should confirm a part-number check rather than replace it. Request clear views of the cylinder from several angles if the listing photos do not show these areas.
Understand what a used master cylinder includes
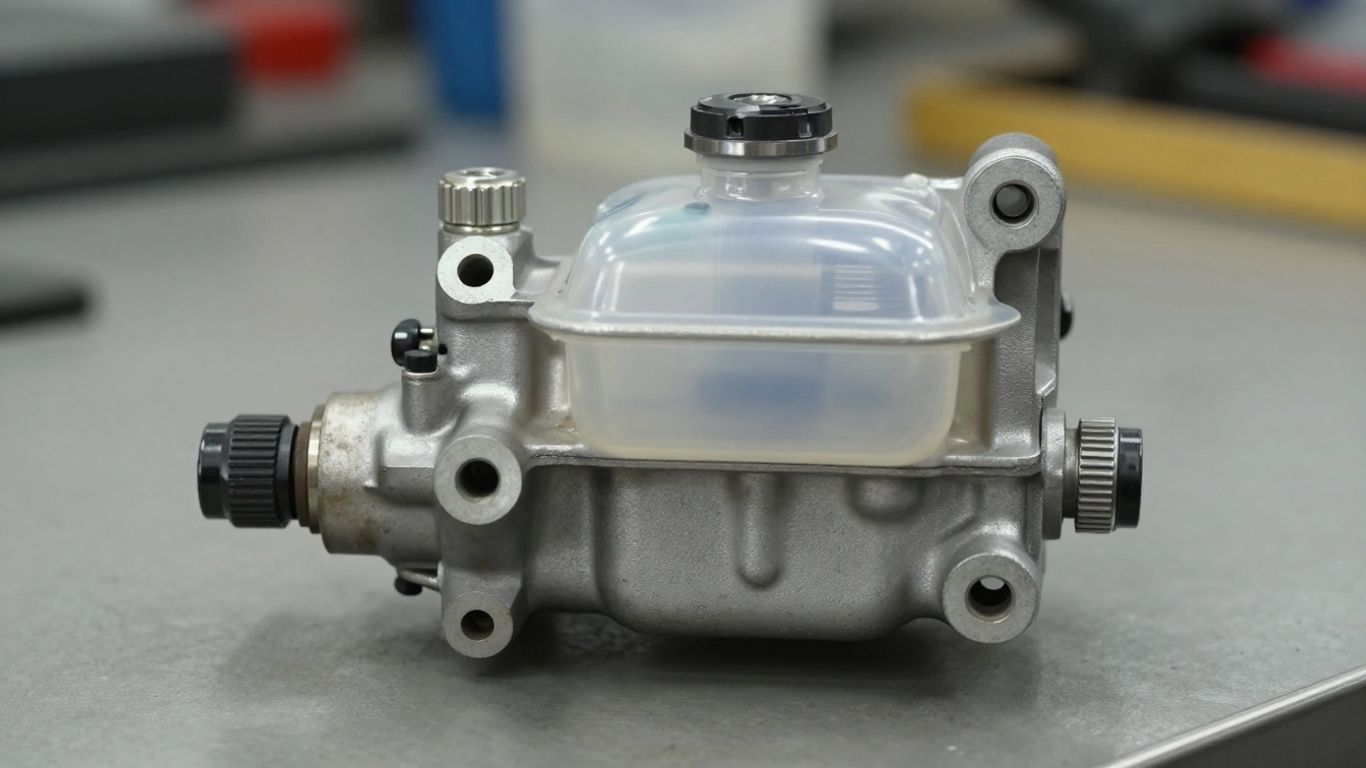
Used listings do not always describe the same collection of parts. One may show a cylinder with its reservoir, while another may offer the cylinder alone; sensors or attached fittings may also vary. Read the description closely and ask for an itemized answer before comparing prices.
Identify whether the reservoir is included
Check whether the reservoir is included, removed, or sold separately. If it appears in the photos, ask whether it is part of the sale and whether it has been inspected for cracks or damage. Do not assume that the parts pictured are all included in the price.
A reservoir that is absent or damaged may change what else needs to be sourced. Confirm the exact package with the seller so the technician can assess the full assembly before installation.
Check for sensors, seals, and attached fittings
Ask which sensors, seals, plugs, and fittings remain attached to the part. A seller’s description may not address every small component, so a close-up photo and a written confirmation can prevent uncertainty later. If a component is missing, ask whether the vehicle-specific replacement can be identified before purchase.
The name of the main part alone does not settle what arrives in the box. Keep a record of the seller’s answer and compare it with the photos and listing description.
Distinguish a complete assembly from a bare cylinder
A complete assembly and a bare cylinder are not interchangeable descriptions. Confirm whether the offer includes only the cylinder body or also includes the reservoir and any attached parts that appear in the listing. This is also a good point to ask whether anything was removed during dismantling.
If you need help making sense of the package, have the technician compare the seller’s itemized description with the vehicle’s existing part. That check can reveal missing pieces before the job is underway.
Inspect condition before buying
A photograph can show obvious damage, but it cannot establish the full working condition of a used hydraulic component. Inspect the visible surfaces and ask what the seller knows about its history, removal, and storage. If the answers are uncertain, factor that uncertainty into the purchase decision.
Look for leaks, corrosion, and physical damage
Examine the cylinder body, ports, reservoir, and mounting areas for fluid residue, heavy corrosion, cracks, dents, or broken fittings. Ask the seller to show the connection points clearly and to describe any marks that could affect installation. A clean exterior is useful evidence, but it does not prove that the part functions correctly internally.
A technician should assess whether visible wear or damage makes the part unsuitable. Do not rely on appearance alone when the component is part of the braking system.
Ask how the part was removed and stored
Ask how the cylinder was removed, whether the fluid was drained, and how the openings were protected afterward. Find out whether it was kept covered and dry, and whether the seller knows how long it has been stored. These details help a technician judge what further checks may be appropriate.
Documentation can matter in purchases far beyond vehicle parts. For instance, preparing paperwork when shipping a car overseas also depends on having the right vehicle details in hand; here, clear removal and storage information serves a similarly practical purpose.
Request clear photos and donor-vehicle details
Request photographs of the full part, the ports, mounting points, reservoir, and any part-number markings. Ask for the donor vehicle’s model, year, and trim if known, while avoiding assumptions based on a listing title alone. A seller who can answer specific questions gives you more to verify before making a decision.
Use a short set of checks to keep the conversation focused:
- Ask for the part number and donor-vehicle details.
- Request clear photos of ports, mounting points, and the reservoir.
- Ask whether there were leaks or visible damage when it was removed.
- Confirm how the openings were protected and where the part was stored.
Compare those answers with the vehicle records and have a technician review any uncertainty. If the information remains incomplete, it may be wiser to keep looking.
Evaluate the seller and the purchase terms
A suitable part is only one part of a sound purchase; the seller’s evidence and terms matter too. Ask what checks have been performed, what the return process covers, and whether any warranty applies. Australia’s trusted Car Parts Supplier connects customers with quality used, genuine, and aftermarket parts, while buyers should still review the specific terms attached to an individual sale.
Verify the part number against reliable records
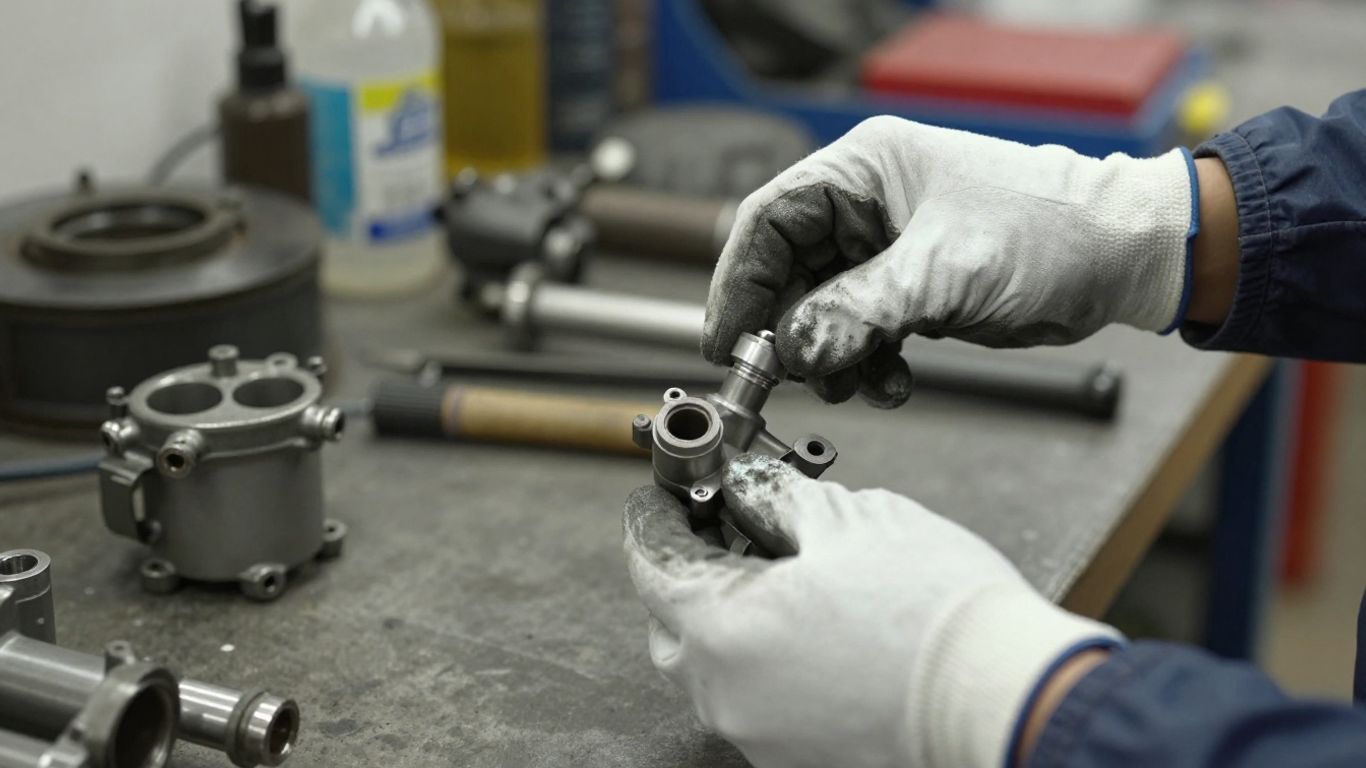
Compare the number on the part or in the listing against a reliable parts reference for the exact vehicle. If a seller offers an alternate or replacement number, ask for the basis of that match and confirm it independently where possible. A new cylinder listing tied to a part number can be a useful comparison point, but its fitment details still need to be checked against your vehicle.
The same habit of reviewing what a quote includes applies in other settings, such as checking the scope behind polished concrete costs. For a master cylinder, make sure the quoted part and included components are clear before weighing the price.
Review return, warranty, and testing policies
Read the seller’s written terms before paying. Check the deadline and conditions for a return, whether the part has a warranty, and what evidence is required if there is a problem. Ask what “tested” means in that listing and whether the seller can explain the checks performed.
Keep the listing, photos, and written answers until the part has been inspected and fitted. If terms are unclear or only discussed verbally, request clarification before completing the purchase.
Compare the total cost with a new or remanufactured part
Compare the full cost, including shipping, any missing components, and the likely labour involved, rather than looking only at the advertised price. A used part may have a lower initial cost, but the value depends on its condition, the available terms, and whether it is the correct assembly. A new or remanufactured option may be worth considering if the used part’s history or condition cannot be established.
A BMR calculator is an example of a tool whose estimate depends on the inputs entered; part comparisons also become more useful when the details are complete. Make the choice only after confirming the part number, package contents, and total cost together.
Plan for safe installation
Brake work calls for care, correct procedures, and the right vehicle-specific information. Arrange for a qualified technician to confirm compatibility and carry out the installation, especially if you are unsure about the part’s condition or the system’s requirements. Do not treat a used component as ready to fit just because it appears intact.
Have a qualified technician confirm compatibility
Before installation, have the technician compare the part with the vehicle’s original component and verify the part number and physical connections. Share the seller’s notes and any donor-vehicle information, including details that were uncertain. If the part does not match or the records conflict, stop and resolve the question before fitting it.
This step can catch a mismatch before it becomes a safety issue or causes unnecessary work. The technician should make the final determination that the part is suitable for the vehicle.
Replace contaminated brake fluid and follow bleeding procedures
Ask the technician to assess the brake fluid and follow the vehicle-appropriate service and bleeding procedures. If the fluid is contaminated, the system may need additional attention; the required steps depend on the vehicle and the condition found. Do not improvise a procedure or rely on a generic sequence when vehicle-specific instructions apply.
Brake fluid and air in the hydraulic system affect pedal behavior, so careful work matters. The system should be checked for leaks and proper operation after service, not simply topped up and assumed ready.
Inspect related brake components before fitting
Have related components and connections inspected while the work is being planned. This can help identify issues that a master-cylinder replacement alone would not address, such as damage elsewhere in the system. Ask the technician to explain any additional work before authorizing it.
Verify operation after installation
Installation is not the finish line; the system needs a careful check before the vehicle returns to routine use. A qualified technician should confirm the part is secure, the hydraulic connections are dry, and the pedal behaves as expected. If anything feels or looks wrong, do not continue driving until it has been assessed.
Check for leaks and a firm pedal
With the vehicle stationary, have the technician inspect the connections and surrounding area for fluid leaks. The brake pedal should feel consistent with the vehicle’s expected operation, not spongy or sinking. A change in pedal feel or any fluid loss calls for prompt professional attention.
Do not try to diagnose a suspected brake fault by taking the vehicle into traffic. Ask the technician to investigate and correct any concern before the next drive.
Confirm warning lights and brake-system behavior
Check that warning lights behave as expected after the work and that the brake system responds normally during the professional checks. If a warning remains on, returns, or appears alongside unusual pedal feel, report it rather than assuming it will clear on its own. General information about master-cylinder warning signs can help you recognize symptoms that deserve attention.
A helium-balloon guide may cover handling and safety for a very different purchase, but the useful common point is to follow clear instructions rather than guess. For a brake system, use the vehicle’s service information and a technician’s assessment.
Arrange a controlled test and professional inspection
Once static checks are complete, arrange a controlled test in a safe setting with a qualified professional, following the correct procedure for the vehicle. The technician should confirm the brakes respond as intended before the car is returned to normal use. If braking feels abnormal at any point, stop and seek help rather than continuing the test.
A final professional inspection provides a chance to address small concerns before they become bigger ones. Keep the purchase and service records with the vehicle documents for future reference.
Conclusion
Choosing a used Haval brake master cylinder takes more than matching a listing photo: confirm the vehicle and part details, understand exactly what is included, and ask clear questions about condition and sale terms. Have a qualified technician verify the part, install it using the right procedures, and check the system before the vehicle returns to normal use.
Frequently Asked Questions
How can I tell whether a used master cylinder fits my vehicle?
Match the model, year, trim, VIN, and original part number, then compare physical features such as ports and mounting points. Have a qualified technician confirm compatibility before installation.
Should I buy a master cylinder with the reservoir included?
That depends on the vehicle and the condition of the reservoir already available. Confirm exactly what the seller includes and ask a technician whether the assembly is suitable for your repair.
What should I look for in photos of a used master cylinder?
Look for clear views of the cylinder body, ports, mounting areas, reservoir, and part-number markings. Check for visible leaks, corrosion, cracks, or damaged fittings, while remembering that photos cannot prove internal condition.
What questions should I ask the seller?
Ask for the part number, donor-vehicle details, included components, removal and storage history, testing information, and written return or warranty terms. Request photographs of areas not shown in the listing.
Is a used master cylinder safe to install?
Safety depends on correct fitment, condition, and proper installation. A qualified technician should assess the part and verify the system’s operation before the vehicle is driven normally.
Does a master cylinder replacement require bleeding the brakes?
Work on the hydraulic system may require vehicle-appropriate bleeding procedures. A technician should follow the relevant service information and check for air, leaks, and proper pedal behavior.
What should I do if the brake pedal feels soft after installation?
Do not continue driving normally. Have the vehicle inspected promptly by a qualified technician, who can check for leaks, air in the system, and other causes of abnormal pedal feel.