
Key Takeaways
A used suspension part can be a sensible purchase, but only when its identity and condition are clear. Ball joints affect steering safety, so careful inspection matters more than finding the lowest price.
- Match the joint to the exact vehicle, position, and part number.
- Reject parts with damaged boots, loose studs, heavy corrosion, or bent mounting points.
- Ask for condition details, photos, warranty terms, and a practical return option.
- Use safe lifting equipment and follow the vehicle’s torque specifications.
- Check alignment and suspension behavior after the repair.
Understanding used Haval ball joints and their role
A ball joint is a small but highly loaded connection in the suspension. It allows controlled movement between suspension components while the wheel follows steering input and road movement. Because it works near the wheel, a worn joint can affect both comfort and control.
What a ball joint does in the suspension system
The joint uses a rounded stud inside a housing to permit movement through several angles. That movement lets the suspension travel up and down while the steering knuckle turns. Its job is not to hold the entire vehicle alone, but it is a critical link between the wheel assembly and the suspension structure.
The joint must move smoothly without excessive free play. If the housing, stud, or mounting interface is damaged, the wheel can shift outside its intended position. That is why even a part that looks acceptable at a glance deserves a close inspection.
How ball joints affect steering, handling, and tire wear
Wear may first appear as a dull knock over bumps, vague steering, or a vehicle that no longer feels settled in a turn. Changes in the joint can alter wheel alignment as the suspension loads and unloads. Uneven tire wear may follow, although tires, bushings, wheel bearings, and alignment settings can create similar symptoms.
A useful diagnosis compares the joint with the rest of the corner rather than assuming every noise comes from it. A qualified technician can check movement with the vehicle safely supported and distinguish joint play from neighboring suspension faults.
Common Haval models that use replaceable ball joints
Listings for Haval suspension components commonly identify applications such as the H6 and F7, but the model name alone is not enough to establish fitment. Different years, markets, drivetrains, and suspension revisions can use different joints. Some assemblies may use a separate replaceable joint, while others may require a larger suspension component.
Treat model references as a starting point only. A Haval suspension parts network can help locate listings, but the final match still needs to be confirmed against the vehicle and the part itself.
Symptoms of a worn or damaged ball joint
A driver may notice clunking, wandering, steering vibration, or a change in the way the vehicle tracks over uneven pavement. A torn boot can allow contamination into the joint and grease out of the housing. Visible movement, a bent stud, or a joint that binds during inspection is a stronger warning than noise alone.
Do not continue driving a vehicle that has severe looseness or a joint that appears close to separating. Have the affected corner inspected before buying a replacement, since the diagnosis determines which position and style of part are needed.
Confirming compatibility before you buy
Correct fitment is the first safety check when shopping for used Haval ball joints. A part that appears similar may have different dimensions, mounting holes, stud taper, or articulation range. Gather the vehicle details before contacting a seller, and save the listing information for comparison.
Matching the part to your Haval model and year
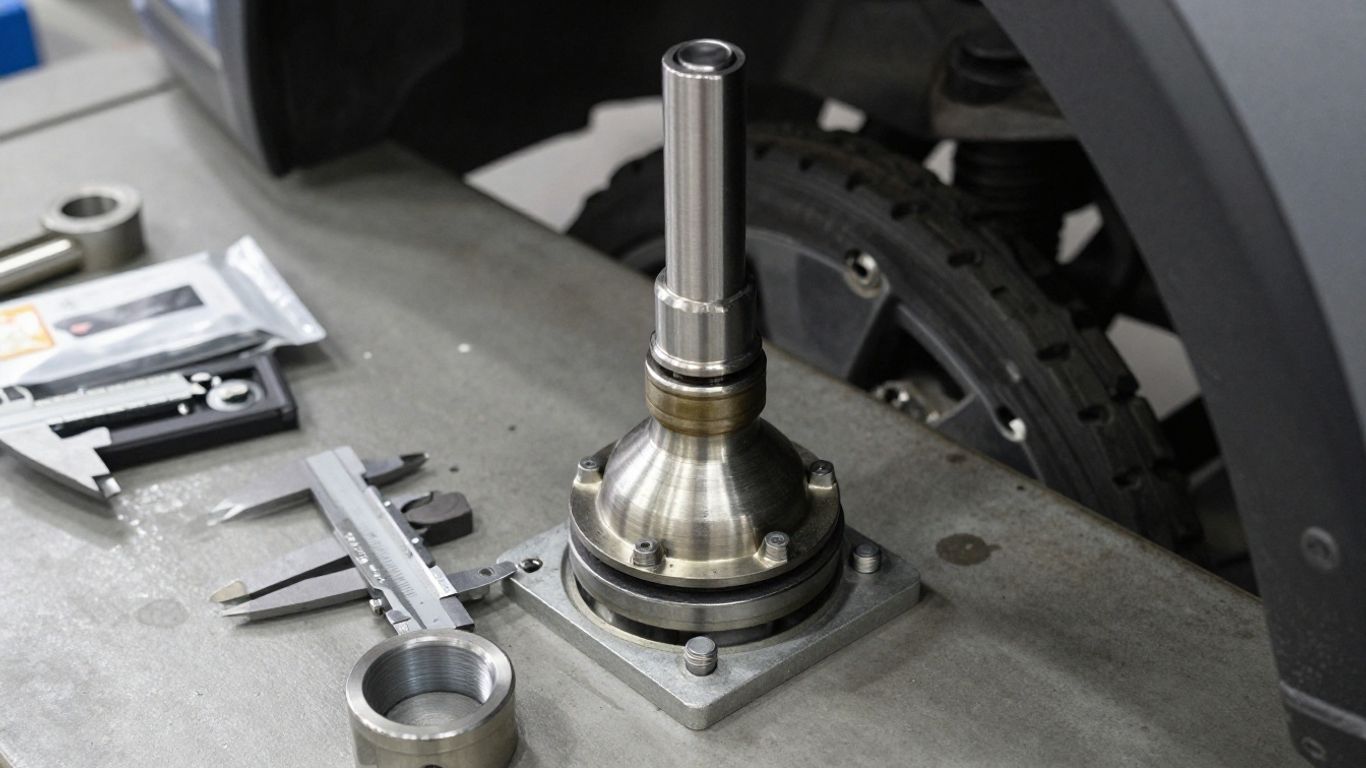
Start with the exact model year, engine or drivetrain information where relevant, and the axle position. Note whether the vehicle uses a front or rear joint and whether the joint is upper or lower. Photographs can support the search, but they should not replace measurements or catalog confirmation.
Ask the seller to state the application in writing. If the answer only says “fits Haval,” request the specific model, year range, side, and position before paying.
Checking OEM and aftermarket part numbers
Part numbers are more useful than a general product title because they provide a traceable reference. Compare every character, including letters, zeros, and suffixes. One suspension listing, for example, identifies a front lower joint by the number 2904150XKZ16A; that reference should still be checked against the vehicle rather than copied blindly.
The following details are worth recording before you order:
| Fitment detail | What to compare | Why it matters |
|---|---|---|
| Part number | OEM number and seller reference | Prevents near-match purchases |
| Position | Front or rear, upper or lower | Determines mounting and geometry |
| Dimensions | Stud, housing, and bolt spacing | Confirms physical compatibility |
| Condition | Used, rebuilt, or new | Sets expectations for inspection and warranty |
A matching number is reassuring, but it is not the only test. If the number conflicts with the vehicle identification number or the physical dimensions, pause the purchase and ask for clarification.
Comparing front, rear, upper, and lower ball joints
Suspension geometry differs from one position to another. Front joints often work with steering movement, while rear applications may have a different shape or role; upper and lower joints can also use different tapers and mounting arrangements. Never assume that a joint from one side or axle can be moved to another.
Compare the stud angle, housing shape, bolt pattern, and any retaining ring or press-fit feature. The part removed from the vehicle is a useful reference, but a worn part may have distorted or missing hardware.
Verifying fitment with the vehicle identification number
Give the seller the full vehicle identification number and ask for confirmation in a message or invoice. A VIN check can expose differences hidden by an identical model badge. Keep the response with your order records in case the part arrives and the application is disputed.
If the seller cannot confirm the match, the safest choice is to keep searching. A low-cost joint that cannot be returned is not a saving if installation reveals the wrong taper or mounting pattern.
Inspecting used Haval ball joints for quality
Used parts vary widely because their history is often unknown. A clean exterior does not prove that the internal bearing surface is sound, and fresh paint can hide corrosion or impact marks. Inspect the joint as a safety component, not as an ordinary cosmetic replacement.
Examining the housing, stud, and mounting points
Look for cracks, gouges, flattened edges, bent studs, damaged threads, and elongated bolt holes. The housing should not show signs of being struck by a hammer or forced out with unsuitable tools. Compare its shape with a reliable reference photo or the part removed from the vehicle.
The stud should have an even surface where it enters the taper, without deep scoring or visible deformation. Missing nuts, clips, or mounting hardware are not automatically disqualifying, but price and fitment should account for replacing them with correct components.
Checking the dust boot for cracks or missing grease
The dust boot keeps grit and water away from the moving joint while retaining lubricant. Flex it gently and inspect the folds, edges, and clamp areas for splits, pinholes, hardening, or separation. A boot that is already open has reduced the part’s protection, even if the stud feels tight.
Do not treat a boot replacement as proof that the joint itself is good. Grease loss and contamination may have caused internal wear that cannot be seen from outside.
Looking for looseness, corrosion, and impact damage
Hold the housing securely and check for abnormal stud movement, following the manufacturer’s inspection method where available. Some movement is part of normal articulation, but looseness, clicking, rough spots, or binding are reasons to reject the part. Surface rust may be manageable; deep pitting on a load-bearing or mounting surface is not.
A short inspection sequence helps keep decisions consistent:
- Clean away dirt without grinding the surfaces.
- Compare the part with the vehicle’s removed joint.
- Check the stud, boot, housing, and mounting holes.
- Photograph defects before discussing price or return terms.
After this check, ask whether the seller tested the joint and how it was removed. If the history is vague and the part shows several warning signs, a different replacement is usually the more sensible choice.
Assessing storage conditions and signs of previous installation
Look for water staining, dirt packed into the boot area, exposed metal, and packaging that allowed the joint to knock against other parts. A part stored outdoors or loose in a bin may have suffered damage that is not obvious in a single photograph. Marks on the mounting face can also show whether it was previously installed.
Previous installation is not automatically a problem, but it makes the condition report more important. Ask how long the joint was in service, why it was removed, and whether the donor vehicle had collision damage near that corner.
Evaluating the seller and purchase terms
The seller controls much of the information you will have before the part arrives. A careful supplier can identify the donor vehicle, show the actual item, and explain what has been checked. A vague listing leaves you carrying the risk, especially when labor costs exceed the part price.
Questions to ask a salvage yard or parts supplier
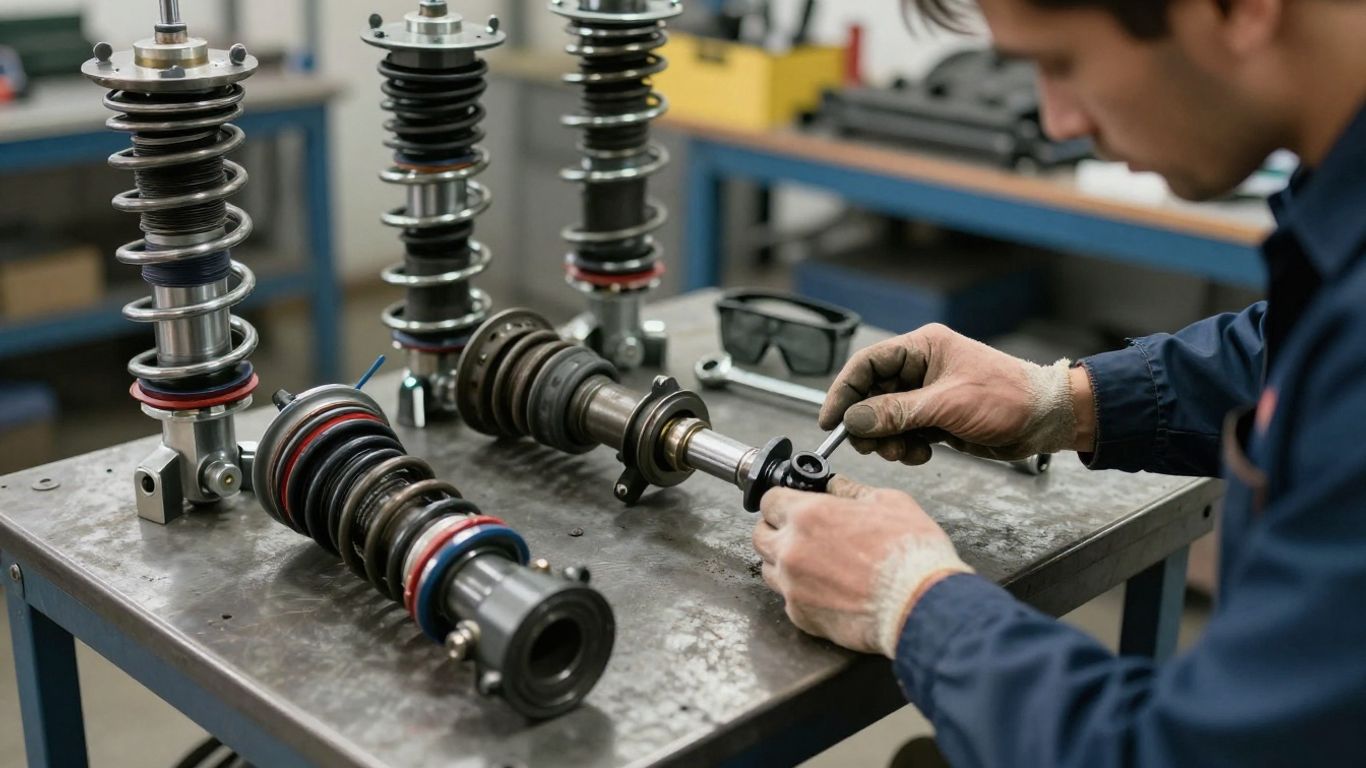
Ask whether the photograph shows the exact joint being shipped, rather than a stock image. Clarify its position, donor model and year, mileage if known, reason for removal, and whether the stud or boot was tested. Also ask whether included nuts, clips, brackets, or retaining rings are original to the listing.
A direct answer is useful evidence of a professional process. If the seller cannot answer basic identification questions, do not let urgency push you into an uncertain purchase.
Requesting clear photos and detailed condition information
Request close photographs of the boot, stud, threaded end, housing, mounting holes, and any casting or part-number marks. Ask for images from several angles and for defects to be described rather than hidden by broad phrases such as “good used condition.”
Photos cannot reveal every internal problem, but they can expose a wrong position, missing hardware, bent metal, or damaged boot before shipment. Save the images alongside the order confirmation.
Comparing used, rebuilt, and new replacement options
A used joint may cost less, but its remaining service life is uncertain. A rebuilt or new replacement may offer clearer specifications and a more predictable warranty, depending on the supplier. Compare the complete cost, including shipping, installation, possible hardware, and the consequences of removing the part again.
For local sourcing, a ball joint service option may also help you compare professional inspection and installation with the cost of purchasing a part sight unseen. The right choice depends on condition, availability, and how much uncertainty you are willing to accept.
Reviewing warranties, return policies, and shipping protection
Read whether the warranty covers the part only or also labor, and check the time limit for reporting a defect. Confirm who pays return shipping, whether the item must remain uninstalled, and what evidence is required. A seller’s policy may distinguish between an incorrect part and a part that fails after installation.
Inspect the package before fitting anything. Photograph crushed boxes, torn boots, or missing hardware immediately, then contact the seller through the stated process. Do not discard packaging until the fitment and condition have been confirmed.
Installing used Haval ball joints safely
Ball-joint work can require substantial force and careful support of the vehicle. The exact procedure depends on whether the joint bolts on, presses into a control arm, or is supplied as part of another assembly. Use a service manual for the vehicle and stop if the joint or surrounding metal does not release as expected.
Tools and safety equipment required for the job
At minimum, plan for a level work area, approved jack stands, wheel chocks, a torque wrench, hand tools, and eye protection. Press-fit joints may require a suitable ball-joint press, while corroded fasteners may need penetrating fluid and replacement hardware. A hammer alone is not a substitute for the correct removal method.
Never work beneath a vehicle supported only by a jack. Keep hands clear of pinch points and use a spring-compression tool if the suspension design stores spring energy.
Preparing the vehicle and removing the old part
Record the position of washers, clips, spacers, and alignment-related hardware before disassembly. Raise and support the vehicle securely, remove the wheel, and inspect neighboring components while access is available. Follow the manual’s sequence for separating the tapered stud and removing any press-fit retaining ring.
Avoid damaging the control arm, steering knuckle, or axle while releasing the old joint. If corrosion has fused components together, a workshop with the appropriate press and fixtures is safer than escalating force at home.
Pressing in or bolting on the replacement ball joint
Clean the mounting bore and mating surfaces, then compare the replacement with the removed part before installation. A press-fit joint must enter squarely and be supported on the correct surfaces; pressing on the stud or boot can damage it. A bolt-on joint needs the correct orientation and hardware, not simply whatever bolts happen to fit.
For a visual refresher on the general process, this video placeholder can accompany the written instructions without replacing the vehicle-specific service information.
Once installed, check that the boot is not twisted and that the joint moves through its intended range. Any binding, misalignment, or interference should be corrected before the wheel is refitted.
Tightening fasteners to the correct torque specifications
Use the torque values and tightening sequence specified for the exact vehicle. Replace one-time-use nuts or damaged fasteners where the service information requires it, and fit retaining pins or locking devices correctly. Do not estimate torque by feel, especially on tapered studs and suspension mounting bolts.
After tightening, mark fasteners only as a visual check that they were torqued; the mark is not a substitute for the torque wrench. Reinstall the wheel and tighten its fasteners to specification as well.
Testing the repair and preventing repeat failures
The repair is not finished when the joint is bolted in place. The vehicle should be checked while stationary, during a controlled road test, and afterward for signs of movement or leakage. A careful follow-up can catch an installation error before it becomes another suspension problem.
Checking steering and suspension movement after installation
With the vehicle safely assembled, turn the steering from lock to lock and look for boot contact, binding, or stretched components. Bounce the suspension where appropriate and listen for knocks. Recheck that all clips, brake hoses, sensors, and fasteners are routed and secured as they were before removal.
The first drive should be slow and close to the repair location. Stop if the steering feels loose, the vehicle pulls sharply, or a new grinding or clunking sound appears.
Getting a professional wheel alignment
Separating suspension parts can change toe, camber, or other alignment settings, even when the original marks are reused. Have the alignment measured after the repair, and ask for a printout showing the readings before and after adjustment. Correct alignment protects the tires and helps confirm that the suspension sits as intended.
Alignment cannot repair a loose joint or bent component. If readings cannot be brought into range, the shop should inspect for additional damage rather than masking the issue with adjustments.
Monitoring tire wear, noise, and handling changes
For the first few trips, pay attention to steering response, straight-line tracking, vibration, and noises over bumps. Check the tire tread for new inner- or outer-edge wear and look beneath the vehicle for a displaced boot or loose hardware. Early changes are easier to investigate than a later failure.
Keep the invoice, part number, and installation date. Those records make it easier to identify the repaired corner and judge whether another component is developing the same symptoms.
Knowing when to replace the other ball joints as well
Replacing one joint does not automatically mean the joint on the opposite side must be changed. However, similar age, mileage, boot damage, or looseness on the other side deserves attention. Ask the technician to inspect both sides and the related control-arm bushings, tie-rod ends, and wheel bearings.
A matched repair may make sense when both joints show comparable wear, but it should be based on inspection rather than habit. The priority is restoring secure movement at every affected corner.
Conclusion
Used Haval ball joints can work as a budget-conscious repair only when fitment, condition, seller terms, and installation safety are treated as one decision. Confirm the part number and position, inspect the boot and mounting surfaces, use proper support and torque, then finish with an alignment and road-test check.
Frequently Asked Questions
Can a used ball joint be safe to install?
It can be, but safety depends on verified fitment and condition. Reject any part with a torn boot, significant corrosion, damaged mounting surfaces, binding, or unexplained looseness.
How do I identify the correct ball joint?
Use the vehicle identification number, exact model and year, axle position, and the OEM or catalog part number. Compare the physical shape and mounting arrangement before ordering.
Should I replace both ball joints at the same time?
Not always. Have both sides inspected, then replace the second joint if it has comparable wear, boot damage, looseness, or a service recommendation that supports doing both together.
What does a torn dust boot mean?
A torn boot allows water and grit to enter and lubricant to escape. Even if the joint feels tight, contamination may already have caused internal wear, so replacement is generally safer than relying on a boot alone.
Do ball-joint repairs require a wheel alignment?
An alignment check is strongly advisable because removing suspension components can alter wheel angles. Correcting the settings helps prevent uneven tire wear and confirms that the vehicle tracks properly.
Can I install a press-fit ball joint with a hammer?
A hammer-only approach can damage the joint or suspension housing and may not seat the part squarely. Use the specified press and adapters, or have a qualified workshop perform the work.
What should I do if the replacement part does not fit?
Do not force it into place. Photograph the part and its markings, compare the dimensions and order details, and contact the seller under the return or warranty procedure before installing or modifying anything.